Linux Web Server for Beginners - Downloading and Installing Ubuntu Linux Server

Download and Burn Ubuntu Linux Server
The first thing we will need is an Ubuntu Linux server CD to boot from and install. This CD can be downloaded for free from https://www.ubuntu.com/server, look for the orange button on the right that says “Download”. Next you will need to burn the ISO you just downloaded to CD or USB drive. If you don’t know how to do this there are some excellent instructions for each at the following locations:
- https://help.ubuntu.com/community/BurningIsoHowto
- https://help.ubuntu.com/community/USB%20Installation%20Media
Time to Install Ubuntu Linux Server
Now that you have downloaded and burned the Ubuntu Linux server ISO we can start the installation process. Insert the CD/DVD or USB stick into your server PC (Personal Computer), make sure your PC BIOS is set to boot from CD/DVD or USB drive depending on which you chose to burn the ISO to. Restart your server and off we go!
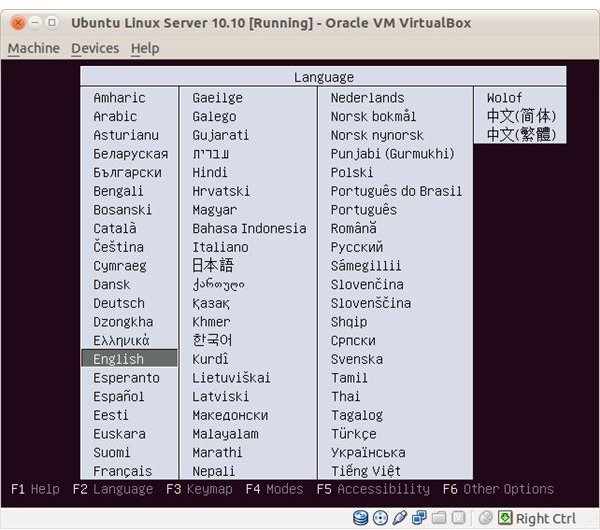
The first screen you will see will prompt you for your choice of language. Choose your language here.
Next you will be taken to the main install screen where you can start your Ubuntu Linux server install. Your choice here will be “Install Ubuntu Linux Server”.
After making your selection the Ubuntu Linux server text based install will start. The first screen will ask you for your choice of language again. This will be the language of the final install. Next you pick your region and keyboard layout and finally your network settings including a hostname for your Ubuntu Linux server.
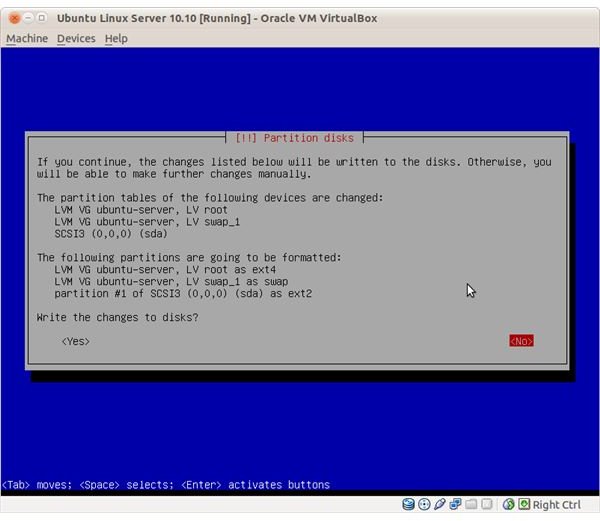
Next you will have to setup the partitions for your Ubuntu Linux server install. Following a final prompt all partition changes will be written to disk.
Finally the Ubuntu Linux server base system will be installed. This can take some time, especially on older hardware. Be patient.
Following the base system install you will be asked a few more questions before your Ubuntu Linux server is up and running. You will have to select a username and password, whether or not to encrypt your home directory and any proxy information you may need to enter to connect to the internet. Apt will then be configured and we will move on to the selection and installation of software for your Ubuntu Linux server.
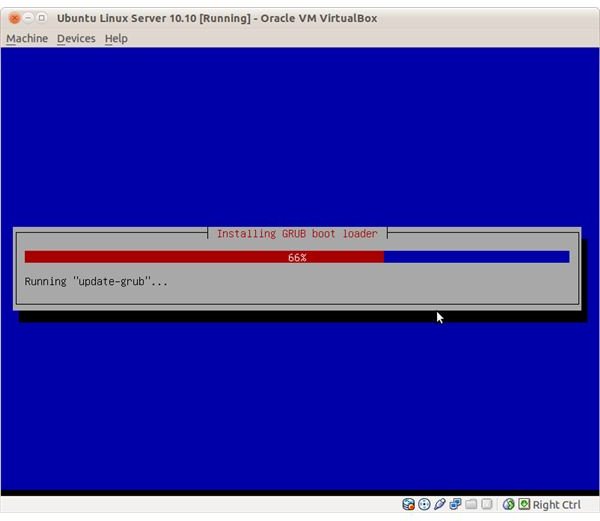
In this next section you will choose automatic or manual updates, and check LAMP server and OpenSSH server and the install will continue. Shortly after you will be asked to enter a password for the MySQL root user, while not mandatory it is always a good idea to pick a secure password that you can remember here. Again, it can take some time to install the required packages so be patient. Grub will be installed and installation will complete. Congratulations, now lets update and secure your Ubuntu Linux web server.
Update Ubuntu Linux Server
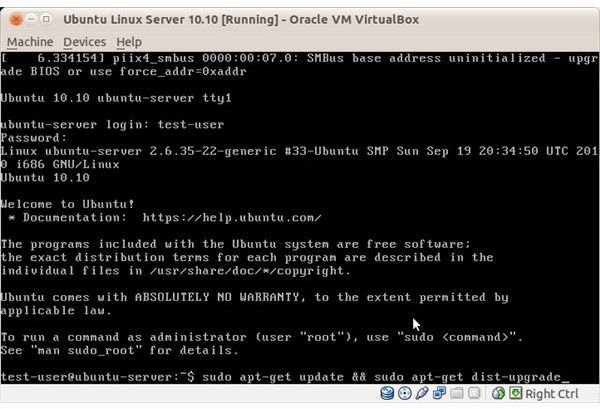
Before putting your new Ubuntu Linux web server online you will want to download and install all the latest updates from the Ubuntu Linux servers. These updates fix bugs and security vulnerabilities and are an important part of keeping your server secure. Log into your Ubuntu Linux web server if you haven’t already, using the username and password we setup earlier, and enter the following command:
sudo apt-get update && sudo apt-get dist-upgrade
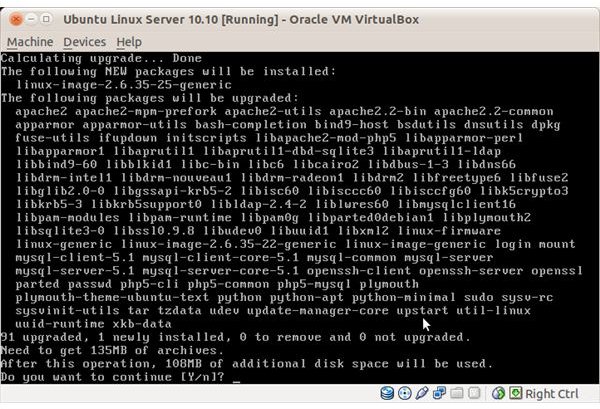
You will be asked for your password again and then given a list of available updates to be installed. Answer “Y” when asked if you want to continue. Your server will now contact the Ubuntu Linux servers and download and apply all available updates. As usual this can take some time. Grab a coffee and in under 30 minutes your server should be up-to-date. The final step to updating your Ubuntu Linux server is to reboot the server with the command:
sudo shutdown -r now
Test Ubuntu Linux Server
Now it’s time to test your Ubuntu Linux server install and make sure it’s accessible. On your server you will want to issue the following command to find out the IP address of your server:
ifconfig | grep inet
Enter the IP address of your server in a browser and if you see the default Apache webpage you’re all set!
Installing a Firewall
To further secure our Ubuntu Linux web server we are going to install shorewall, a command-line firewall. To install shorewall issue the following command:
sudo apt-get install shorewall
Once shorewall is installed we want to adjust the firewall’s default behaviour which is to let all connections through. The only traffic we want to pass through the firewall is HTTP (80) and SSH traffic (22) so we will have to make a couple changes to the default shorewall configuration file. We can do this with a few simple terminal commands:
sudo cp /usr/share/doc/shorewall-common/examples/one-interface/* /etc/shorewall
will copy an example file used for single interfaces from the shorewall documents directory to your shorewall directory. Next we will want to make a few changes to this configuration file to block all traffic except HTTP and SSH.
Installing a Firewall, cont
First lets open this file with the nano text editor:
sudo nano /etc/shorewall/rules
Once open look for the line that says “#LAST LINE – ADD YOUR ENTRIES BEFORE THIS ONE – DO NOT REMOVE” and above this line add the following:
HTTP/ACCEPT net $FW
SSH/ACCEPT net $FW
Press CTRL-O and then CTRL-X to save the changes to this file and your shorewall firewall is now set to only accept connections on port 80 (HTTP) and port 22 (SSH).
You can start your firewall with the following command:
sudo /etc/init.d/shorewall start
Your firewall is now active and protecting your Ubuntu Linux web server. For more detailed information on configuring shorewall please visit the shorewall documentation.
Adding Your Website to Your Ubuntu Linux Web Server
Now that your Ubuntu Linux web server is installed and you’ve taken basic security measures you are ready to copy your website to the server. By default Apache (your web server software, installed earlier as part of LAMP) stores web site information in “/var/www/” and any files you place in this directory will be served up to the internet. You will want to place your default index file (for your website) in the root of this directory and expand your web site from there.
You can find more detailed information on adding your website to apache at the Apache HTTP Server Documentation website.
Conclusion
As you can see the basic setup of an Ubuntu Linux web server is rather straightforward. The next step you will probably want to take is to make your server accessible to the Internet but that is beyond the scope of this article. This will require you modify some of your router settings to forward ports and/or setup a DMZ. An excellent site for information on this is portforward.com, you can find your router listed here in most cases along with information on how to forward ports. Good luck and enjoy your new Ubuntu Linux web server!