
Remastersys is a great way for (K)(X)Ubuntu and KlikIt-Linux to make a live CD of a working desktop system. In this article we explain how to do so the “point and click” way.
Why Back-up?
I don’t want to rant and rave about this, but if you’ve ever lost any of your precious pictures (baby’s first step, son’s first baseball game - you get the idea) then you know by now why backing up your hard drive is important.
Why Remastersys?
I believe Remastersys is a great way to do this because it makes a live CD of your current installation of Kubuntu or Linux Mint. This means that whenever you run in to a problem, you can insert the live CD into your DVD drive and run it just as if the system were installed to your hard drive. This also includes any custom installed drivers for graphics or network. In my case I have to use a driver for my wireless network card because the driver that comes with the kernel doesn’t work.
Live CD, Remastersys That Sounds Hard
I know that for some of you this sounds daunting, but it isn’t as hard as it sounds. Remastersys has a simple, elegant GUI that makes backing up and configuring Remastersys easy.
Not a point and click person? Then click here for a terminal installation method .
Installation and Configuration
First we have to add the remastersys repository to the sources.list, so add this line:
deb https://www.remastersys.klikit-linux.com/repository remastersys/
I explain how to in this article . I also explained how to install packages using adept in this article .
After Installation is done we have to configure Remastersys. You do so by starting Remastersys.
kmenu->Applications->Remastersys (KDE4)
kmenu->Utilities->Remastersys (KDE3)
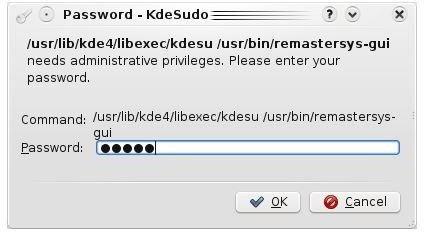
Put in your password as remastersys needs to run under superuser privileges.
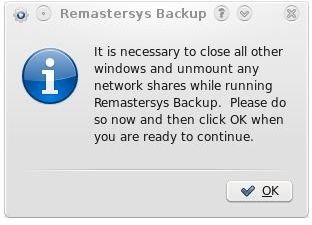
Close all unnecessary windows. Remember that we are making a Live CD. Leaving windows open would cause them to run upon every use of the live CD.
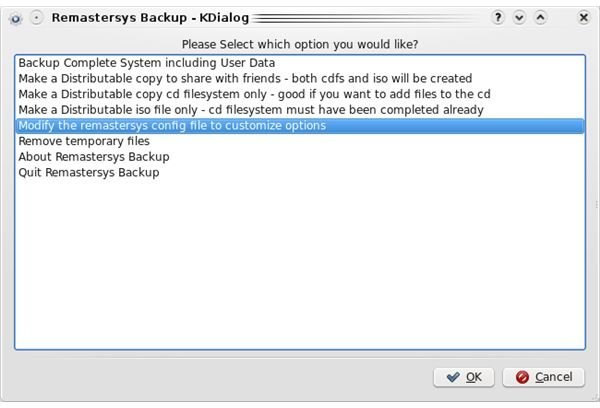
Now select “Modify the remastersys config file to customize options” and click “OK” to change the settings.
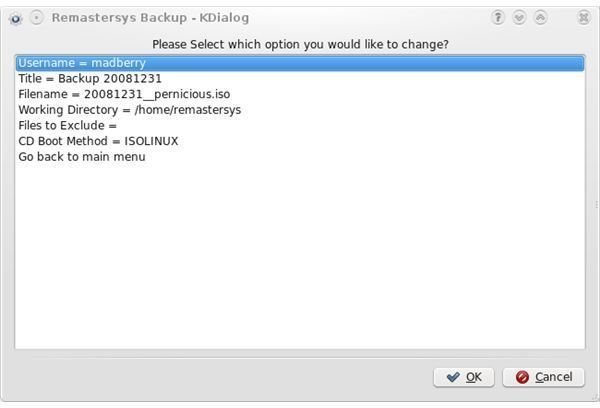
Select a option and click OK to change it.
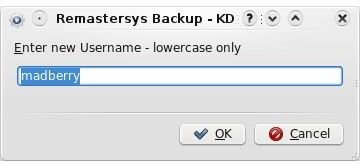
Change the option and click OK do so for every option you want to change. After you are done, select “Go back to main menu”. Now we are ready to make the back up Live CD.
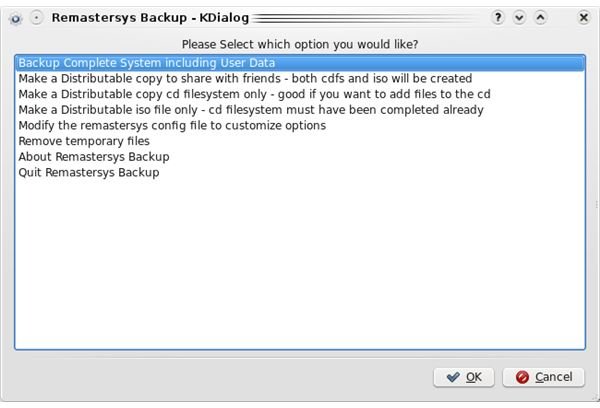
Now select “Backup complete system including user files” to start making the backup.

Read the message and click OK to start the backup.
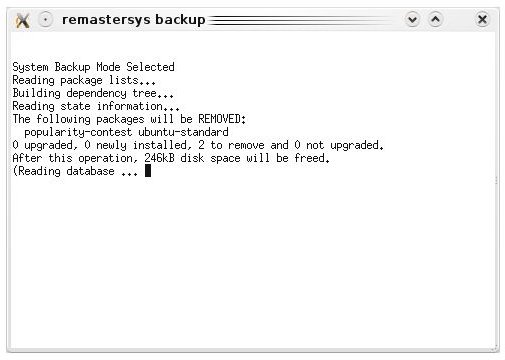
Now wait for Remastersys to finish. After it is done, make sure you burn and test the CD or DVD before you clean the files by selecting “Remove temporary files”.
That’s it. Now you can enjoy your own custom Live CD. You even have the ability to make a CD you can give to friends (with out your user files in it of course) to demonstrate Linux to them.


