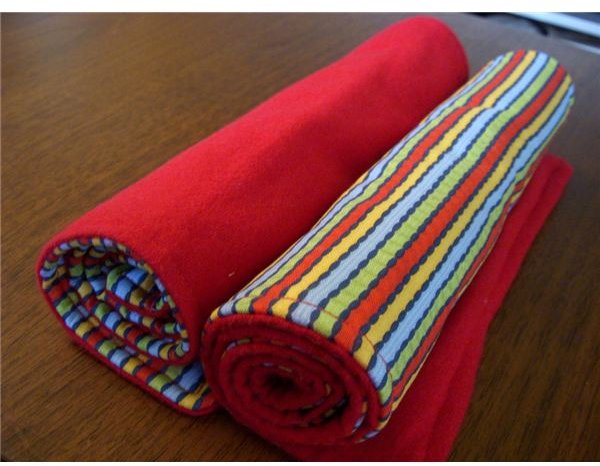
How to Make Burp Cloths from Materials You Already Have
How to Make Your Own Burp Cloths
Burp cloths are one of those baby accessories that can save your clothes and really cut down on the amount of laundry that you do. Washing small squares of cloth takes a lot less power and water than having to wash a whole outfit when your baby spits up after eating.
You can purchase burp cloths ready-made, but, if you can sew a straight stitch, it is very easy learn how to make burp cloths yourself. Best of all, they can be made by recycling fabric you already have in your home.
This is a fun and satisfying DIY project for a beginning crafter, or someone who does not have a lot of free time. It can be completed quickly with just a few basic stitches. Plus, you will have not only abstained from buying something made from new materials, but, you will have kept old materials out of the waste stream for a bit longer.
Materials Needed
Burp cloths can be sewn from materials that you already have in your home. This is a great use for items that have become torn or stained. Because the cloths are small, you can easily cut around the torn or stained portions of material. Some examples of fabrics that can be recycled and made into burp cloths:
- old t-shirts
- baby towels
- soft kitchen towels
- velour or stretch velvet clothing
- old corduroy clothing
- flannel blankets
In addition, you will need:
- a sewing machine, or a needle and thread
- pins
- scissors
- a tape measure
Sewing the Burp Cloths
Assemble your materials before you begin. Each cloth will use at least one fuzzy, absorbent layer made from a fabric with loops or pile such as terry cloth, velour or stretch velvet. For the second layer, you can use any soft fabric of your choice. To make the burp cloths:
- If you are using second-hand garments like velour or corduroy pants, you may need to cut the seams so that you have a large, flat panel of material to work with.
- Cut an 18 inch by 8 inch rectangle of each fabric you are using. If desired, you can use larger or smaller pieces. If you cannot cut a section that large out of one of the items you are using, it is okay to piece together smaller pieces to make a larger one. What is most important is that the two rectangles that will make the front and back of the cloth are the same size.
- Pin the two rectangles together right sides (the side that you wear on the outside) in. You will want enough pins so that the pieces stay lined up evenly while sewing.
- Sew around 3 sides of the rectangles with a 1/4 inch seam allowance.
- Turn the fabric right side out. Fold the open end under so that the raw edges are inside.
- Finish by top stitching around all four edges, sewing the open end closed in the process.
A Few More Ideas
- Use a pattern to sew a matching bib in order to make a cheap, cute and environmentally friendly homemade baby gift.
- Try out contrasting fabrics for a fun and vibrant look.
- If you feel ambitious, decorate the burp cloths using appliques made of soft fabrics like t-shirt cotton or flannel.
Resources
The Prudent Baby: https://www.prudentbaby.com/2009/12/diy-burp-cloth-how-to.html
Craft Bits: https://www.craftbits.com/project/baby-shower-burp-cloth
Photo Credit: flickr user Lo & Behold
