Learn How to Use the Joomla Article Manager

Sure, you may have learned how to navigate Joomla’s backend, and you’ve even learned how to find and install plugins. However, if you don’t know how to add and edit articles with the Joomla article manager, your site would be quite bare! This article will show you how to add, edit, and manage articles from both Joomla’s backend and frontend. Please note that this article uses Joomla 1.5.
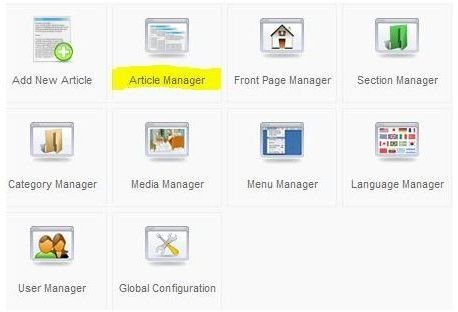
The Joomla Article Manager is located in the backend of Joomla, and allows you to easily create, delete, and edit articles. It’s located on the front page of your backend, as well as under the “Content” tab in the top bar.
Inside of the article manager, you’ll be greeted by a list of all articles you’ve ever created. On a fresh install of Joomla, you’ll either be greeted with default content, or you’ll be greeted by an empty list. As you can see, in this install of Joomla, I have no content at all, so we’ll have to add it.
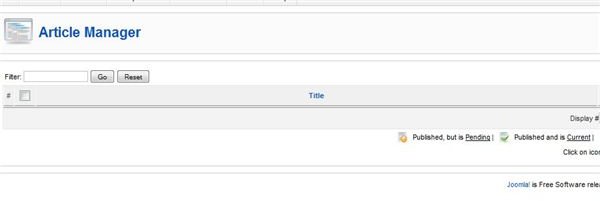
Clicking the “New” article button will allow you to create new content.

Clicking the “Trash” button will allow you to delete an article by checking the box next to the title of the article.

Clicking the “Edit” button will allow you to edit selected existing content, including changing the body, title, and location of the article. Clicking on the title of an existing article will also allow you to edit it.

Exploring the New Article Creator/Editor (Backend)
Clicking the “New” button will take you to the article editor, which will allow you to easily create content. If you’ve ever worked with a blogging client like LiveJournal or any word processers like Word or Open Office, this will be very easy to operate.
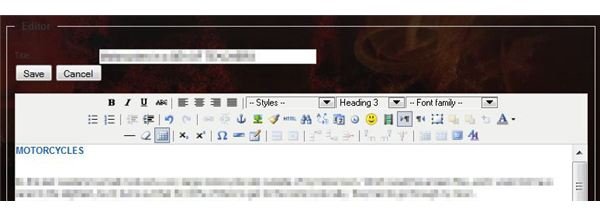
The included WYSIWYG editor is very easy to use, including all your basic word processing functions, including text formatting, table creation, and text alignment. There are also options for adding page anchors, images, cleaning up messy code, and even editing HTML if need be.
The “Title” field is what will appear at the top of your article. This can be whatever you would like, such as “My 25 Favorite Songs” or “Best Reasons to Buy in Bulk.” The “Alias” field easily allows you to name it something shorter, which is what will display in the URL bar. This is great for SEO-friendly URLs. Selecting the “Published” option will set the article to appear live on the site, or allow you to take an article down from the site if needed. The “Frontpage” does exactly what it says, sets an article to appear on the front page (or not) if you like.

Setting the section and category is relatively easy, and there is an article that explains what those are and how to set them here: Joomla: Section Vs. Category.
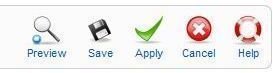
Saving your article is as simple as clicking the “Save” button at the top of the screen.
Frontend Article Manager
To edit your article from the front, you’ll have to have the ability to login enabled, which is available in your Module Manager. Once logged in from the front, you simply click the “change” link on the article you wish to edit. The change button will be located near the title or top of your article, but depending on your template, may move around slightly.

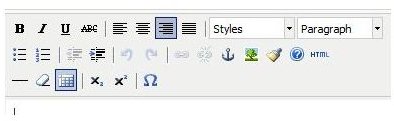
This will bring up an editor that behaves the same way as the WYSIWYG editor from the backend! And now you know all the basic ins and outs of the Joomla Article Manager!